Using PSXSplashEdit to craft a scene for PlayStation
PSXSplash is an awesome little sdk that allows an easy way to make explorable PS1 scenes. You can use it with PSXSplashEdit to use Unity as your editor for PS1 scenes. In the future you can even make small games with it!
This blog post goes through my process and learnings of developing this little sauna scene. I highly recommend trying PSXSplash yourself.
1 TEXTURES
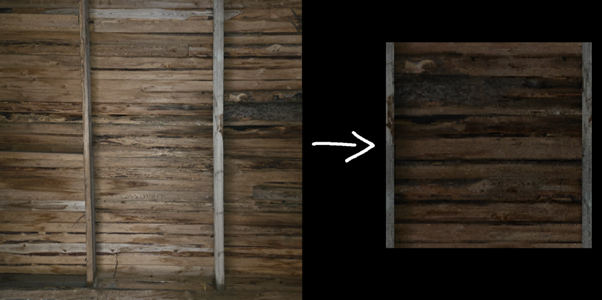
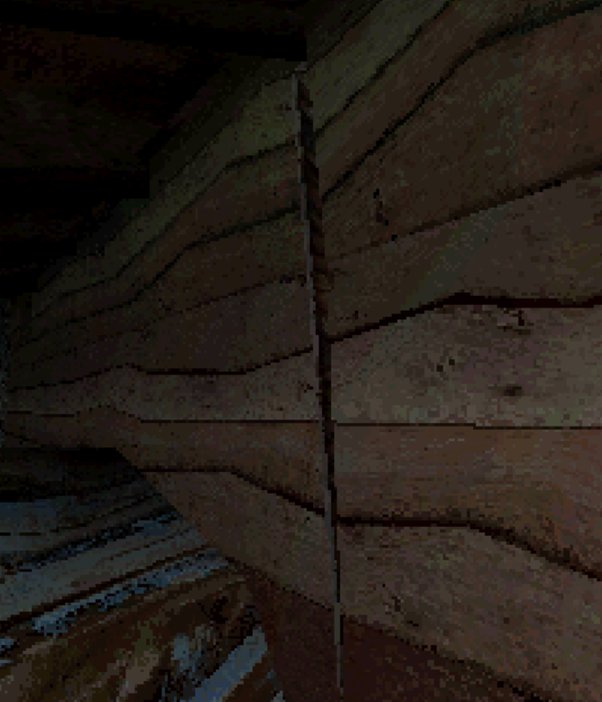
I used my phone to shoot photos that I edited with Krita and Asesprite. As PlayStation rendering is quite low resolution it is very forgiving. You can use any kind of potato to take photos as they will get heavily crunched down anyways. Alternatively, you can just paint pixel art directly if you go for more stylized look.
I like the look of photo based textures personally, so I went with that style in my scene.
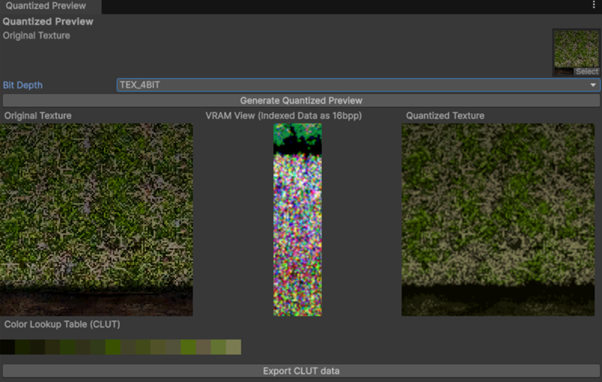
Maximum supported texture size for PS1 is 256x256. The textures in PSXSplash can use three different bit depths. 16-bit textures take 1:1 space in VRAM, 8-bit textures take 1/2 of that and 4-bit textures 1/4. 8-bit and 4-bit textures use color lookup tables (CLUT) that need to be saved to VRAM too.

When the Unity scene is converted all the textures you are using will get quantized to the bit depth you have chosen. You can preview how the textures and CLUTs look like in PSXSplashEdit.
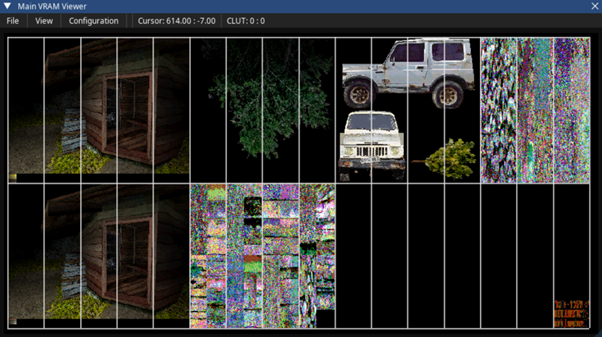
PSXSplashEdit manages the VRAM layout. As long as you don't go over, textures and their CLUTs get loaded automatically. The full VRAM of PS1 is 1024x512. The frame buffer is also included there.
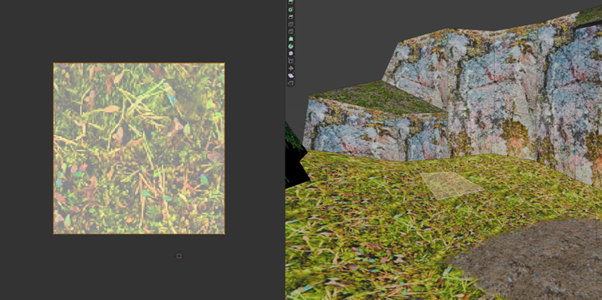
You can see that in my scene I used combination of 16-bit and 4-bit textures. 16-bit textures were used for large / hero objects. 4-bit textures were used for most of the world geometry and repeating elements. The 4-bit textures look funky in VRAM as their colors are stored in CLUTs. You can find CLUTs between the frame buffers in this VRAM layout.
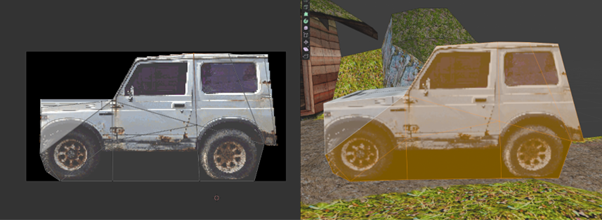
Full black is treated as transparency. You can see this for example here in my sauna whisk texture.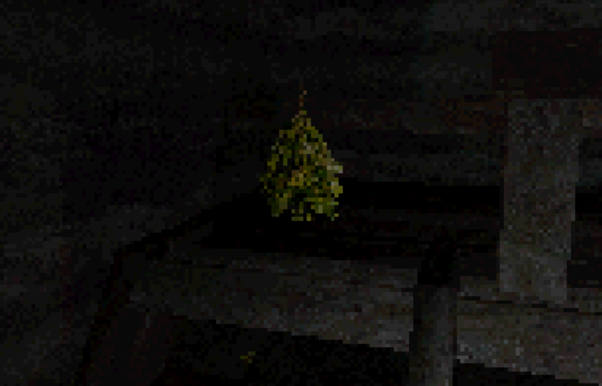
2 MODELLING
For modelling I used Blender. PSXSplash does not currently optimize the scene visibility, so try to keep them simple. My sauna scene already is not running optimally due how many polygons it has. Once PSXSplash matures and the games made with it can have multiple scenes easily, then it would make sense to split this kind of scene to two parts. Outside and inside.
This is how the scene looks like Blender. I used one unit as one meter in scale. The player height was set to 175cm.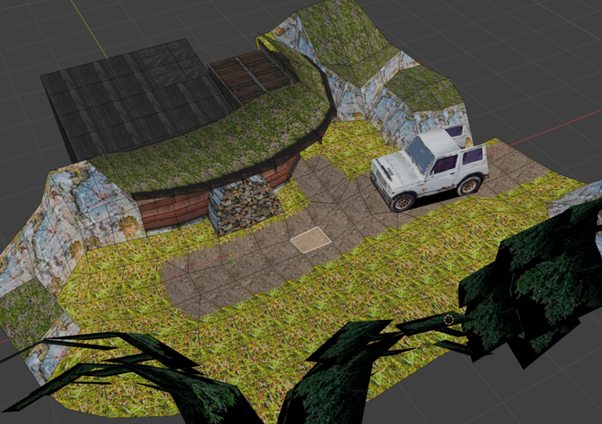
PlayStation is famous for affine texture mapping. Which means in practice that the textures are not perspective corrected. To combat this I used higher density of polygons in places where the camera can get near the polygons. For example here in the entrance you can see that I subdivided the geometry from the height of the player's head to keep the textures from warping.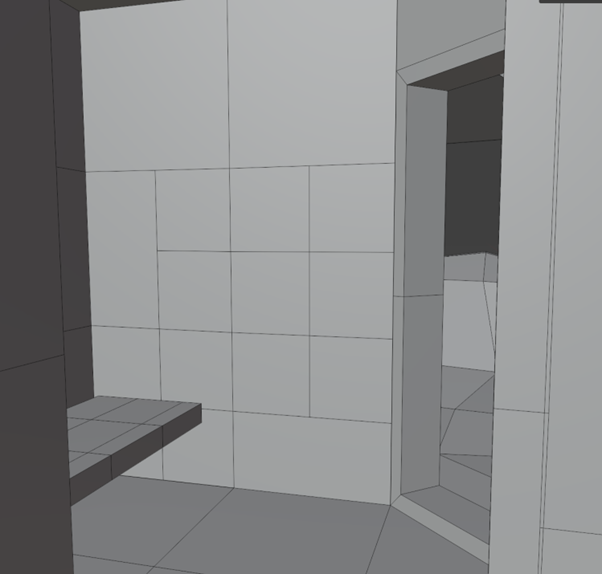
Polygon render order is also another tricky thing you need to keep in mind. PlayStation has no depth buffer so polygons are sorted by how far their origins are from the camera. For example here with the logs, I originally just had the logs added on top of the ground geometry, but that would result the terrain bleeding through. To solve that, I removed the terrain under the logs and just merged logs and terrain together to avoid incorrect rendering order.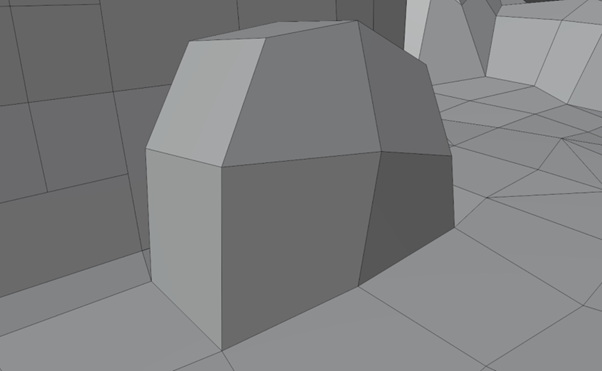
You can still easily find rendering issues with the scene. Here, for example, the inner wall is bleeding into outside. These kind of issues can usually be fixed by adding more geometry, but I didn't want to make the scene any heavier than it was so I just left them be.
3 UV MAPPING
PSXSplash does not support repeating textures. This means that all the UVs have to be within the 0 and 1 boundaries. Most of the time I used my textures likes 2D tilemaps just unwrapping one quad to one full texture.
You cannot do repeating textures over a single quad like this because the UV coordinates exceed 0 and 1.
I recommend checking "Constrain to Image Bounds" in Blender. Then you do not accidentally move UVs out of bounds.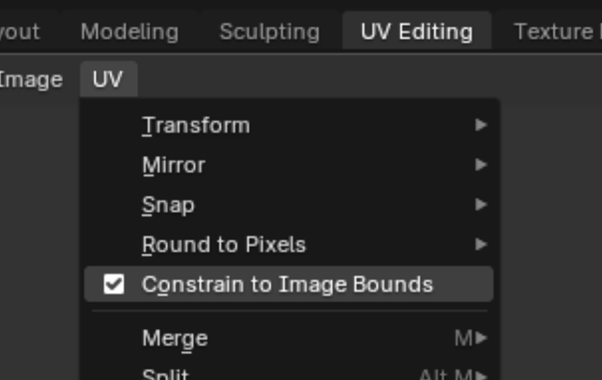
In Unity you can set your textures' Wrap Mode to be Clamp for correct preview. And while you are there, you can also set Filter Mode to Point for more accurate preview in terms of how the textures look. PS1 has no texture filtering either.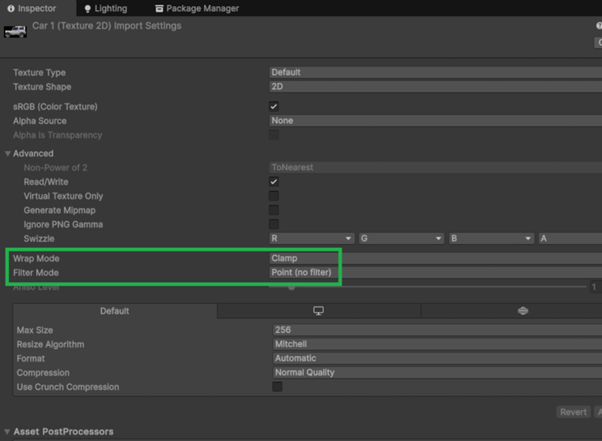
4 LIGHTING
To light up your scene, you need to add lights in Unity. Directional, point and spot light components are supported.
My scene just uses a few basic point lights.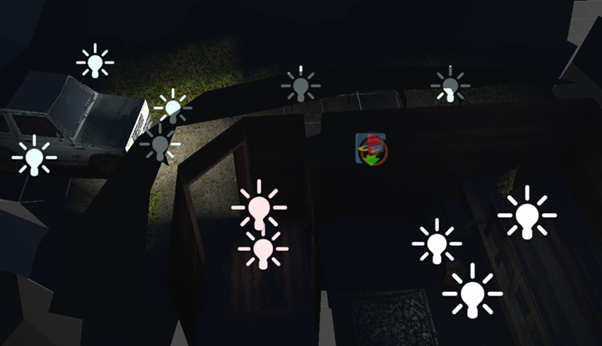
In Unity universal render pipeline asset I set the lights to display Per Vertex. This is similiar how PSXSplash also stores and displays the lighting using vertex colors. Unfortunately you cannot use this preview as one to one to PlayStation so adjusting lights requires plenty of exporting into PS1 emulator and just checking how the lights look.
5 NAVIGATION
PSXSplash uses navigation mesh generated in Unity for movement. It works pretty ok, just keep the GTE scaling in exported high enough. The navigation will currently break if it is too low.
Here is the navigation mesh from my scene. Additionally I used bunch of NavMesh Modifier Volumes to restrict parts of the level.
Some parts I did not want player to access, some parts like the rooftop had to be blocked as otherwise the movement jumped between roof and ground, and some parts I blocked as I wanted to avoid texture warping when the player is too close to a wall.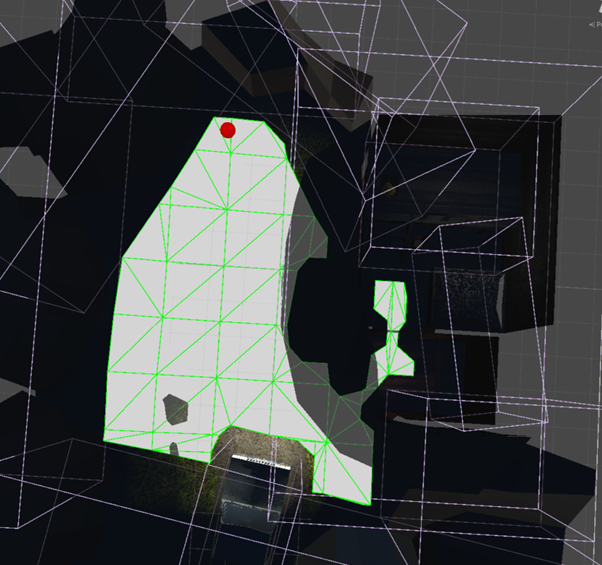
6 FINAL WORDS
PSXSplash is pretty straightforward and approachable entry for making little scenes for PlayStation. I can easily recommend it if you already have some familiarity for texture creation, 3D modelling, Unity scene composition and understanding of how to set up VS Code projects.
I recommend joining PSX.DEV Discord. It is the best entry point for PS1 homebrew development. Have fun!
Comments
Log in with itch.io to leave a comment.
Best PS1 Software :